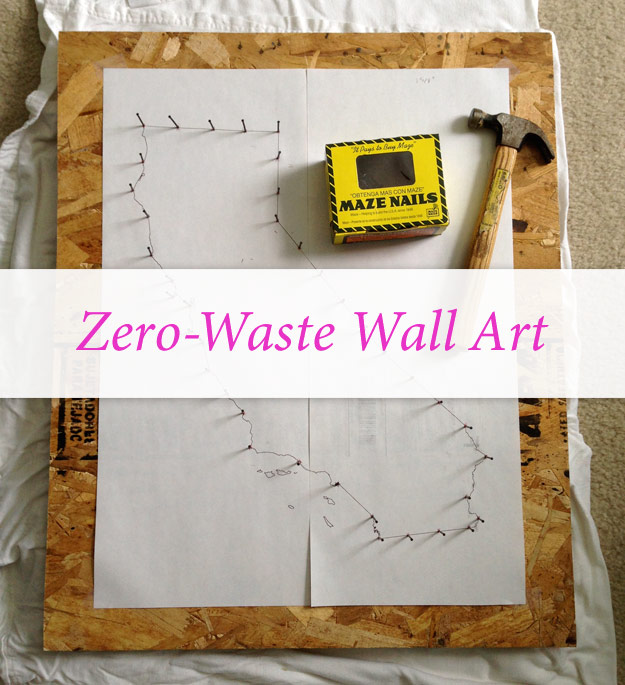
Over the last several months I’ve been pursuing two different aspects of personal development: revitalizing my creativity and reducing the amount of waste I generate. I’ve also been trying to combine these two pursuits, which led me to ponder ways I could create art without also creating waste.
I had recently made myself an Indiana wall-hanging with nails and plywood when my sister commented that her husband would probably like a similar piece of art in the shape of California for his upcoming birthday. (It’s already come and gone, so this post isn’t a spoiler.)
From a Facebook query asking for supplies, I discovered that one of my friends has a lapsed woodworking hobby. He was happy to give me a big scrap of plywood as well as the small wood pieces I attached to the back. (The backing pieces keep the plywood off the floor when you’re nailing and keep the nails from scratching the wall when you hang the finished piece.)
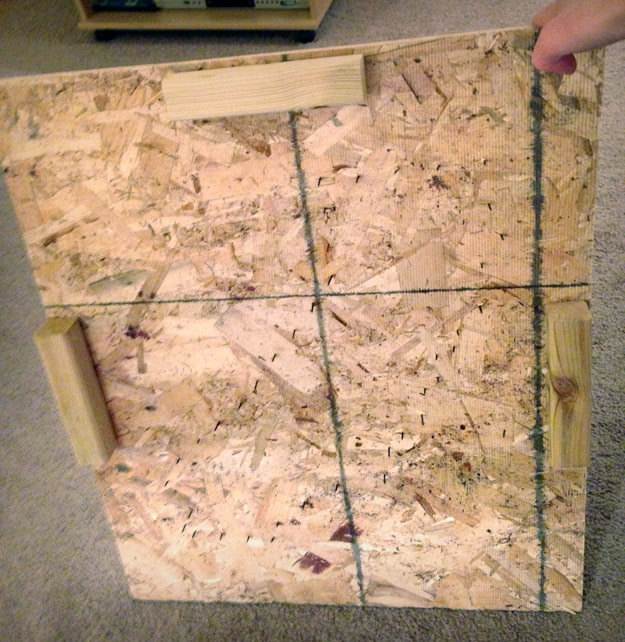
Reclaimed plywood with scraps attached for hanging
I printed the outline of California tiled on four sheets of paper so it would be big enough for the piece of wood. I made X’s on the outline where I wanted nails to go; I think it was about every inch. Having the nail placements marked was helpful so I didn’t have to eyeball it as I went. I taped down the outline and hammered a nail all the way through the plywood at each X.
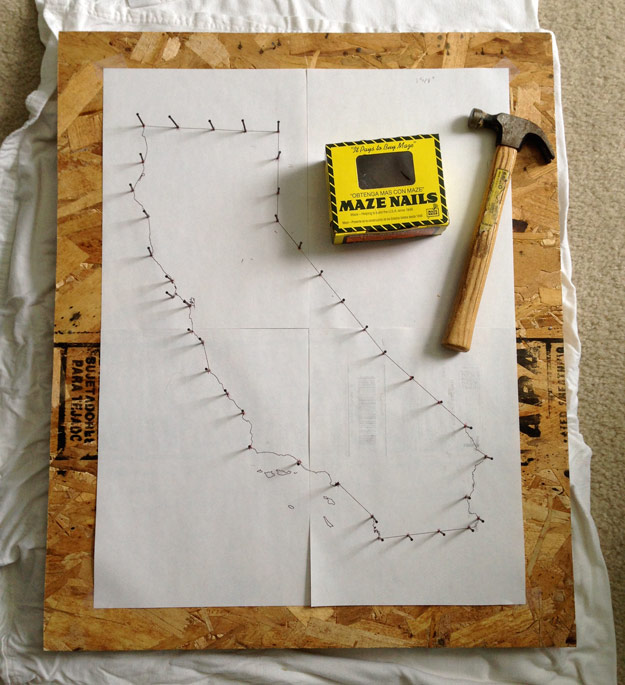
I nailed right through the paper—it was easy to tear off when I was done.
I then tore off the paper and was left with just the nails creating the outline. I spent some time experimenting with how I wanted to make the shape visible. Should I do zig-zags in the interior of the shape? Just a border around the outside?
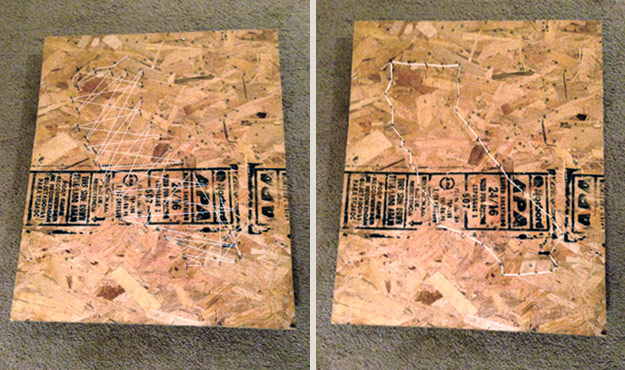
I decided to do both techniques together. The zig-zags are embroidery thread, which I attached by simply knotting it to one of the nails. The outside border is some white binding tape I had in my craft drawer from years and years ago (when I mistakenly thought binding tape would have adhesive properties—protip: it does not). I wove the binding tape around the outside nails and then hand-sewed it at the corner so it would sit flat, rather than having a big knot.
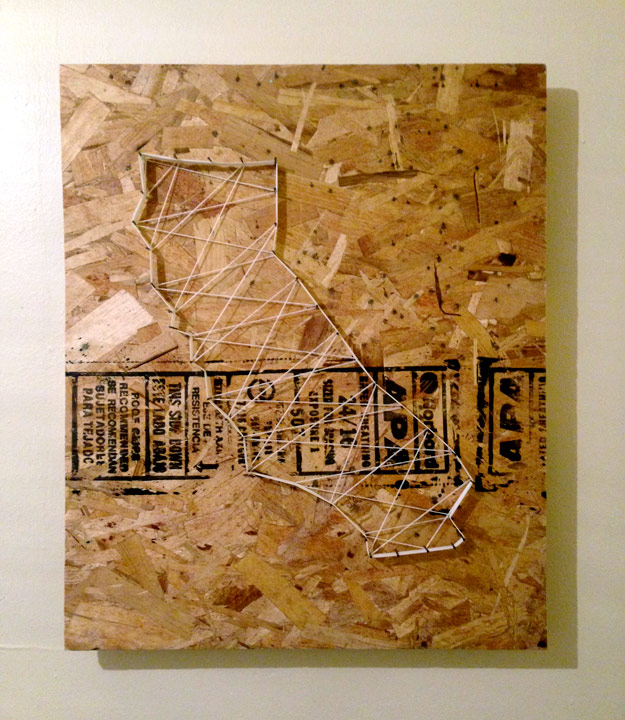
The finished product
Materials used:
- Reclaimed wood from a friend’s garage
- Made in USA nails I already had (plus a few I borrowed)
- Four sheets of paper
- White embroidery thread I already had
- White binding tape I already had
- White thread I already had
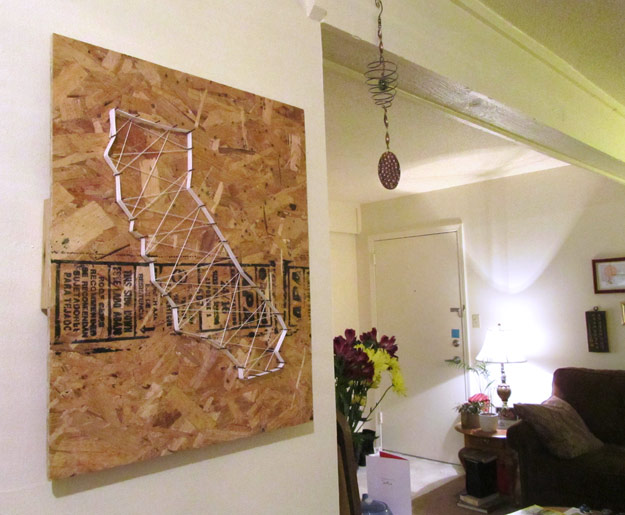
One thing I like about this piece is that it can theoretically be disassembled and the components reused. I used no glue, so none of the elements are fused together inseparably.
I had been looking for a way to use a large quantity of the nails, which I bought without realizing they are “finishing nails,” which means they don’t have a head and are therefore difficult to pull out of the wall. Apparently Americans only make specialty nails, not basic ones for hanging pictures, so this was the most normal style I could get that was made in USA. (I’m not sure if it was more or less wasteful for me to buy 500 impractical American-made nails instead of 50 Chinese-made nails that were actually what I wanted.) I did have to borrow a few nails from a friend to attach the backing pieces because my nails were too long.
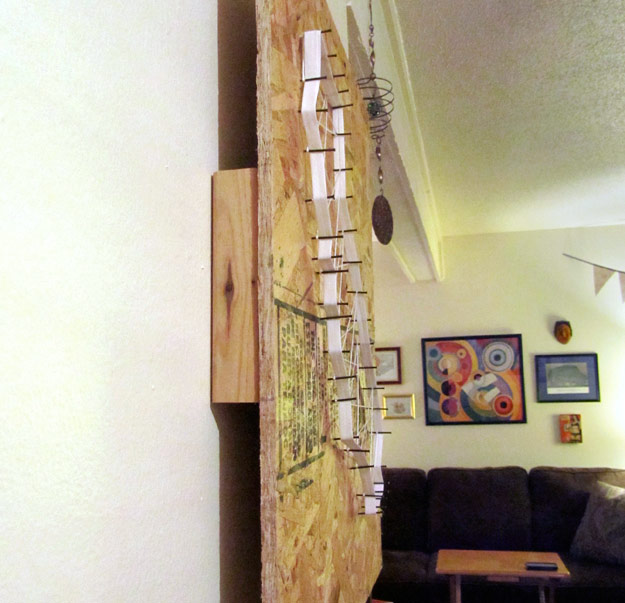
The side pieces on the back help stand the wall hanging off the wall so the nails don’t scratch it.
Technically I did waste a few pieces of Scotch tape, which I used to tape down the outline of the state, and I did have to recycle the paper after I tore it off. But overall I bought no new materials, found purpose for items that could have gone in the trash, and ended up with a minuscule amount of waste (not to mention a super-cool gift for my bro-in-law).
What DIY projects have you created lately? Are you working any zero-waste ideas into your lifestyle?

Even though this was for Nate, we both love it. Snaps for sourcing all of the stuff from friends! I know you told us that when you gifted this, but I forgot until now.